I love to crochet Solomon’s knot as I believe you can use this stitch to make anything you want from garments to shawls, scarves, and wraps. If you are looking for a lightweight and airy project to make, then Lover’s Knot stitch is the way to go.
This stitch is especially perfect for spring, summer, or even fall makes. The Lover’s Knot creates a delicate lightweight lacy openwork pattern that allows air to circulate keeping you cool and comfortable during summer and spring.
You can make Solomon’s Knot stitch using a single color or mix and match colors based on your desired look. You can wear your makes as garments or make accessories for layering up and accentuating your fashion.
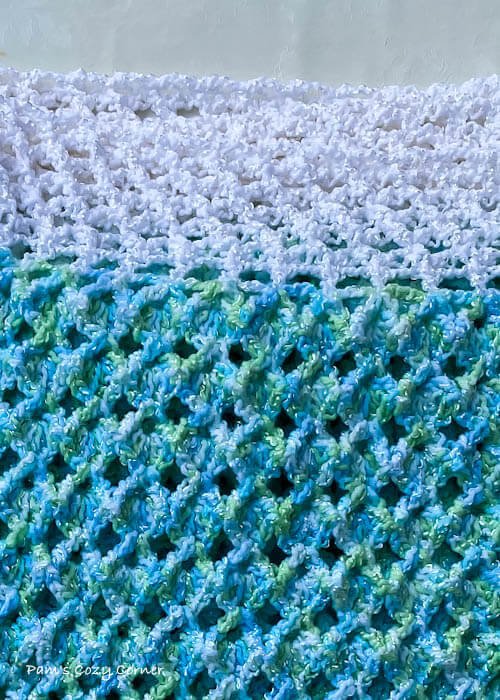
If you don’t want to use your whole project using a Solomon’s Knot but you would still like to have it in your crochet projects, then you can use it to make the border or edge on your projects like blankets or scarves. Below is a blanket I made with Solomon’s Knot Edging.
Skill Level
Intermediate
Materials
A project that you want to make the border
Yarn in the same weight and desired color
Same hook size as the project
Scissors
Tapestry needle
Abbreviations
Ch(s)- chains
St- stitch
Dc- double crochet
Ch-2 sp – chain 2 space
Special Stitch
Solomon’s Knot:
-
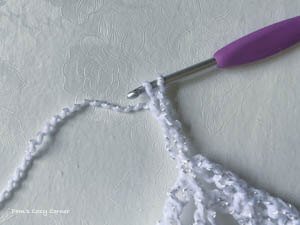
Starting with one loop on the hook, draw this loop out to the desired length
-
Thread over the hook, and draw through (as you would if you were making an ordinary chain stitch), but with the single back thread kept the same length as the first long loop, keeping the single back thread of the long-chain separate from the two front threads.
-
Next, insert the hook under this single back thread.
-
Wrap the thread over the hook again and draw a loop through.
-
Wrap again and draw through both loops on the hook.
-
You are essentially creating single crochet stitches separated by elongated openwork Love Knots.
Solomon’s Knot Border Tutorial
Attach border yarn to any of the corners or end of your project
Row 1: ch 3, *dc, ch 2 evenly across to the next corner making sure your tension marches the blanket tension with (dc, ch 2, dc ch 2, dc) in the corner st.
Row 2: Sc in the first stitch, * make 2 Solomon’s Knot stitches, skip 2 chs and one stitch, sc in the next stitch, rep * to end, join in first sc stitch.
Row 3: Make one Solomon’s Knot stitch, sc in the st between the next 2 Solomon’s Knot sts, * make 2 Solomon’s Knot sts, sk 2 loops st, sc in next sc, rep around, ending with sc in last sc.
Rep row 3 until you have your desired width.
Fasten off and weave in ends.
Remember that the tension and spacing of your stitches will affect the overall look of your border, so be sure to practice and experiment until you achieve the desired effect. You can also try adding different colors or textures to your border to make it even more unique and eye-catching.


